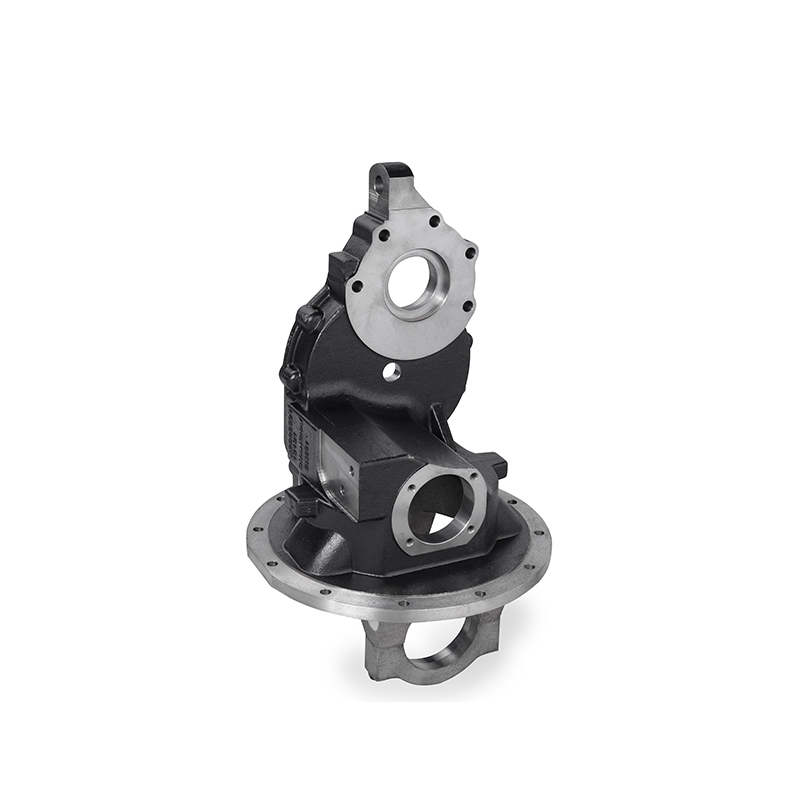
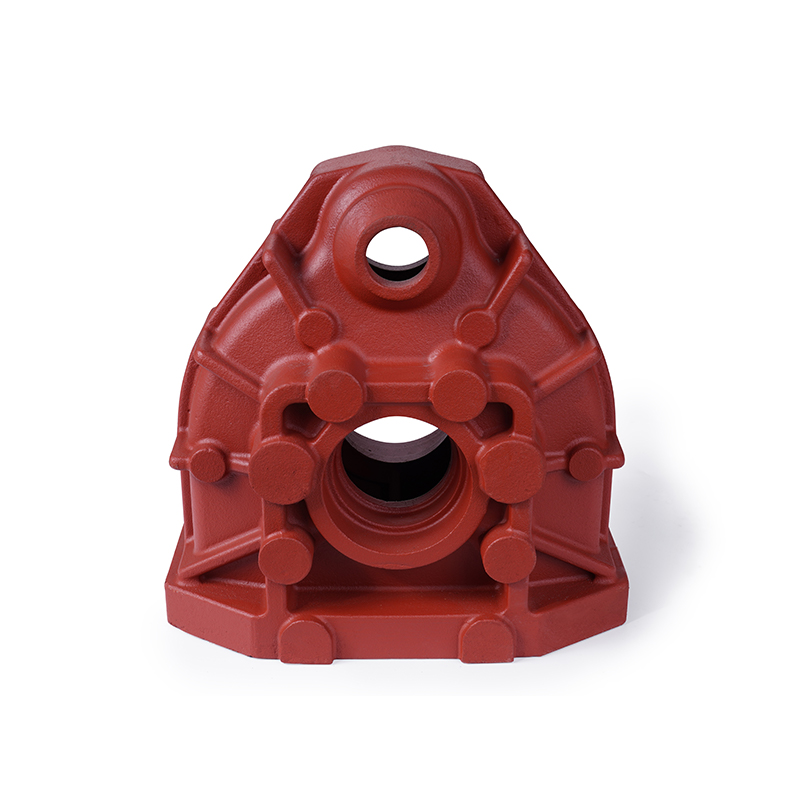
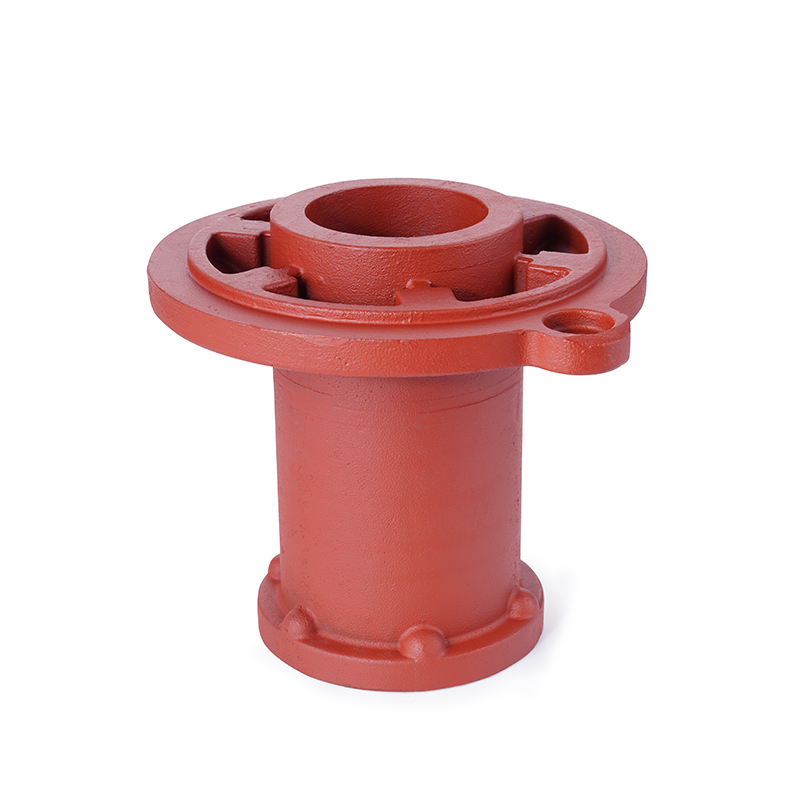
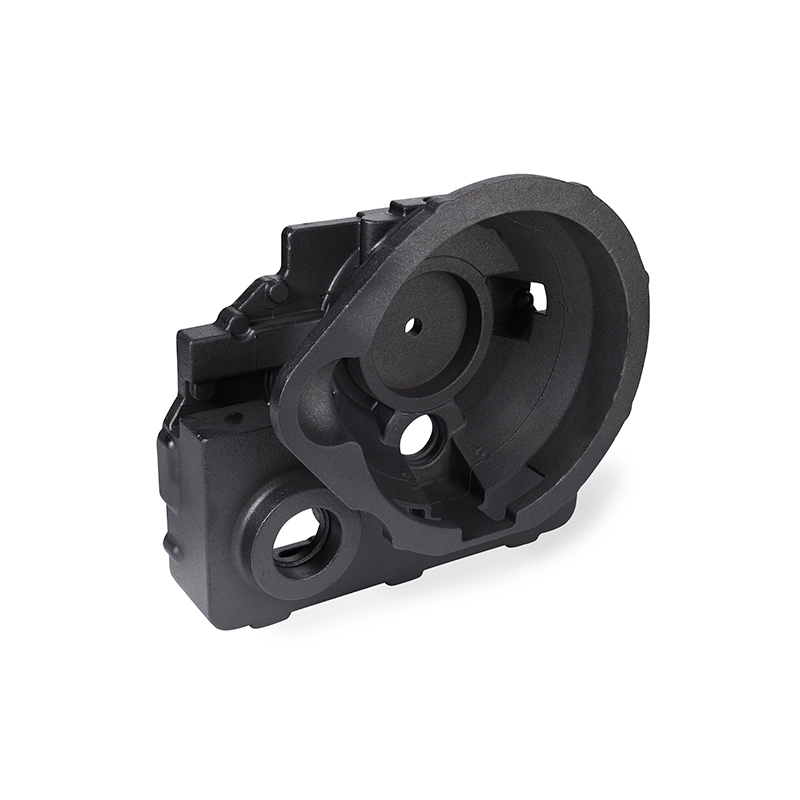
The cast iron casting process transforms molten iron into a finished component through six core stages: pattern making, mold preparation, melting, pouring, solidification and cooling, and finishing operations. Iron is typically melted in a cupola furnace or induction furnace at temperatures between 1,350°C and 1,450°C, then poured into a sand or permanent mold cavity shaped by the pattern. After the metal solidifies and cools—a process that can take anywhere from 20 minutes to several hours depending on part thickness—the casting is removed, cleaned, and machined to final specifications. The sections below walk through each stage in detail, along with the quality checkpoints that separate a reliable casting from a defective one.
Every casting begins with a pattern—a replica of the final part, but slightly oversized to account for metal shrinkage during cooling. Cast iron typically shrinks between 0.8% and 1.2% as it solidifies and cools to room temperature, so pattern makers build this allowance directly into the pattern dimensions.
Patterns are commonly made from wood, aluminum, or plastic, depending on production volume. Wood patterns are cost-effective for prototype or low-volume runs but wear out after roughly 50-100 mold cycles. Aluminum or steel patterns, while more expensive upfront, can withstand tens of thousands of cycles and are standard for high-volume production.
If the part requires internal cavities or hollow sections, separate core boxes are built to produce sand cores. These cores are inserted into the mold cavity before pouring and are typically made from sand bonded with resin to withstand the heat and pressure of molten metal without collapsing.
Once the pattern is ready, it's used to create the mold cavity that will shape the molten iron. Mold preparation method significantly affects surface finish, dimensional accuracy, and production cost.
The most widely used method for cast iron, sand casting packs a mixture of sand, clay, and water (or resin-bonded sand) around the pattern to form a two-part mold, known as the cope and drag. This method is economical and flexible for both small batches and large parts, though it typically produces a rougher surface finish of 125-250 microinches Ra.
Shell molding uses resin-coated sand heated against a metal pattern to form a thin, rigid shell. This produces significantly better surface finish and tighter dimensional tolerances than traditional sand casting, making it suitable for smaller, precision components.
For high-volume production of simpler geometries, reusable metal molds can replace sand molds entirely. Permanent molds can produce thousands of parts before replacement and yield superior surface finish, though the higher tooling cost makes this method less economical for low-volume or complex-shaped parts.
While the mold is being prepared, raw materials—pig iron, steel scrap, and carbon-rich additives—are melted in a furnace to produce molten iron with the desired chemical composition.
Cupola furnaces, which burn coke alongside the metal charge, remain common in traditional foundries due to their continuous melting capability and lower operating cost. Induction furnaces, by contrast, offer more precise temperature and chemistry control and produce lower emissions, making them increasingly popular in modern foundries despite higher electricity costs.
Cast iron's properties depend heavily on carbon and silicon content. Gray iron typically contains 3.0-3.6% carbon and 1.8-2.8% silicon, while ductile iron requires additional magnesium treatment—usually 0.03-0.06% residual magnesium—to produce the spheroidal graphite structure that gives it superior ductility over gray iron.
Once the iron reaches the correct temperature and chemistry, it's transferred to a ladle and poured into the prepared mold through a gating system designed to control flow rate and minimize turbulence.
The gating system—consisting of the pouring basin, sprue, runners, and gates—directs molten metal into the cavity while minimizing air entrapment and turbulence, both of which can cause porosity defects in the finished casting. Risers are also incorporated to feed additional molten metal into the cavity as the casting shrinks during solidification, preventing shrinkage cavities.
Pouring too slowly risks premature solidification before the mold fills completely, resulting in incomplete castings known as "cold shuts." Pouring too quickly increases turbulence and gas entrapment. Foundries typically target pouring temperatures around 1,300-1,400°C for gray iron, adjusted based on part thickness and mold complexity.
After pouring, the molten iron begins solidifying from the mold walls inward. Cooling rate directly affects the casting's microstructure and mechanical properties, making this stage critical to final part quality.
| Cooling Rate | Resulting Structure | Typical Effect |
|---|---|---|
| Slow cooling | Coarse graphite flakes | Lower strength, better machinability |
| Moderate cooling | Fine, uniform graphite structure | Balanced strength and machinability |
| Rapid cooling | White iron (carbide-rich) structure | High hardness, brittle, poor machinability |
Wall thickness plays a major role in cooling time. A casting with 25mm wall thickness may fully solidify within 30-45 minutes, while thicker sections exceeding 100mm can take several hours to cool completely. Uneven wall thickness across a single part can cause differential cooling rates, leading to internal stresses or warping if not properly managed through mold design.
Once solidified and cooled to a safe handling temperature, the casting is removed from the mold and undergoes several finishing operations before it's ready for use.
In sand casting, the mold is broken apart—typically using vibrating shakeout equipment—to free the casting from surrounding sand. Reclaimed sand is often screened and reused, with modern foundries recovering 90% or more of sand for subsequent molds.
Gates, runners, and risers—excess metal from the gating system—are cut away using band saws, abrasive cutoff wheels, or plasma cutting, depending on section thickness and production volume.
Shot blasting or sand blasting removes residual sand, scale, and surface oxidation, preparing the casting for inspection and machining. This step also improves surface uniformity ahead of any coating or painting processes.
Most castings require secondary machining to achieve final dimensional tolerances on critical surfaces such as mating faces or bore diameters. Where enhanced properties are needed, heat treatments like annealing, normalizing, or austempering may be applied to relieve internal stresses or achieve specific hardness and strength targets.
Quality control checkpoints are integrated throughout the casting process rather than applied only at the end, since defects introduced early are often impossible to correct later.
Understanding common defects helps foundries and buyers alike recognize where in the process quality issues typically originate.
| Defect | Common Cause | Prevention Method |
|---|---|---|
| Porosity | Trapped gas during pouring | Improved gating design, degassing |
| Shrinkage cavity | Insufficient riser feeding | Proper riser sizing and placement |
| Cold shut | Metal solidifying before mold fills | Higher pour temperature, faster fill |
| Sand inclusion | Mold erosion during pouring | Improved sand strength, gating control |
The cast iron casting process is a sequence of interdependent stages, where decisions made during pattern design and mold preparation directly influence outcomes at pouring, solidification, and finishing. A well-controlled process—from accurate shrinkage allowances to precise chemical composition and cooling rate management—produces castings with consistent mechanical properties and minimal defects. For engineers and buyers evaluating a foundry partner, understanding these six stages provides a practical framework for assessing process capability and identifying where quality risks are most likely to emerge.




 русский
 日本語
日本語